Stone, Silk, Concrete: Designing With Surface Texture
How slicer settings let you design with surface — not just shape.
When people talk about 3D printing, they usually focus on shape. What can you model in CAD? How complex can the geometry be? How far can FDM printing push the limits of a 3D model?
But there's another dimension that doesn't get enough attention: surface.
The way a printed object feels in your hand — rough like stone, smooth like fabric, grainy like concrete — is not an accident. It's a design decision. And most of it happens in the slicer, before you even start the print.
Here's what I've learned experimenting with surface texture in Bambu Studio.
Why surface texture matters in design
Shape defines what an object is. Surface texture defines what it feels like — and how it's perceived. The same cylindrical vase printed in silk filament and in matte filament are two completely different objects. One looks like ceramics. One looks like fabric. The geometry is identical. The experience is not.
Once you start thinking about texture as a design variable — not just a side effect of 3D printing — it changes how you approach every project.
Fuzzy Skin: the most underrated setting in Bambu Studio
If you haven't tried Fuzzy Skin yet, stop reading and go turn it on for your next print. You'll find it in Bambu Studio under Print Settings → Quality → Fuzzy Skin. It's one of those settings that most 3D printing tutorials skip — but once you understand it, it changes how you approach surface design in FDM.
What it does: instead of printing a smooth outer wall, the nozzle adds small, controlled deviations as it moves. The result is a surface that looks and feels organic — rough, irregular, almost natural.
Two parameters control the effect:
Thickness
Higher values produce more aggressive texture. Use this to push toward dramatic, chunky surfaces.
Point distance
Smaller distance creates a denser, finer texture. Use this to control the visual grain of the surface.
Play with both together. A high thickness with a large point distance gives you something chunky and rough — closer to cracked stone. A low thickness with a small point distance gives you something subtle — closer to fine concrete or unglazed ceramic.
Filament choice makes a big difference here. Matte filament works best with Fuzzy Skin. Because matte doesn't reflect light uniformly, the surface irregularities create depth and shadow — the texture becomes visible, almost three-dimensional. With standard glossy filament the reflection flattens the effect. It still works, but you lose some of the visual impact.
That said — standard filament with Fuzzy Skin is not a bad result. It just looks different. Worth testing both before committing to a project.
Stone and concrete: it's about the settings, not just the filament
Stone-effect filaments exist — and they're excellent. But you don't need specialty filament to get a stone-like result in your 3D printed objects. A grey matte filament combined with the right slicer settings in Bambu Studio can produce a convincing stone texture — especially when the CAD model has larger flat or curved surfaces designed to show it off.
Fine stone
polished granite, compressed concrete- Low Fuzzy Skin thickness (0.1–0.2 mm)
- Small point distance (0.4–0.6 mm)
- Slow outer wall speed
Rough stone
natural rock, uncut surface- Higher thickness (0.3–0.5 mm)
- Larger point distance (0.8–1.2 mm)
- Outer wall speed less critical
Concrete falls between the two. What makes concrete look like concrete is uniformity — the roughness is consistent, not dramatic. A medium Fuzzy Skin setting on a flat-grey matte filament gets you surprisingly close.
The trick is that concrete objects tend to have sharp edges — so resist the urge to add rounding or chamfering in your CAD model. Keep the geometry clean and geometric. The texture does the rest.
Silk filament: when you want the opposite
Silk filament is the other end of the spectrum. No Fuzzy Skin. No texture. The goal is smoothness — and silk achieves it naturally because of how the filament catches and reflects light. The surface almost looks wet. It has depth without roughness.
For best results with silk in FDM printing:
- Slower outer wall speed
- Slightly higher printing temperature than the manufacturer recommends (test in small increments)
- More walls than you think you need — silk shows layer lines more than matte, so extra wall thickness helps
Silk works beautifully in warm colours — reds, golds, coppers. In these tones the shimmer is most visible.
Combining surfaces in one design
This is where 3D modeling becomes genuinely interesting. In CAD — I work primarily in SolidWorks — you can design separate components from the beginning with different materials in mind. Each part is modeled to highlight its surface: one for texture, one for finish, one for structure. The 3D printing stage then executes what the CAD model already planned.
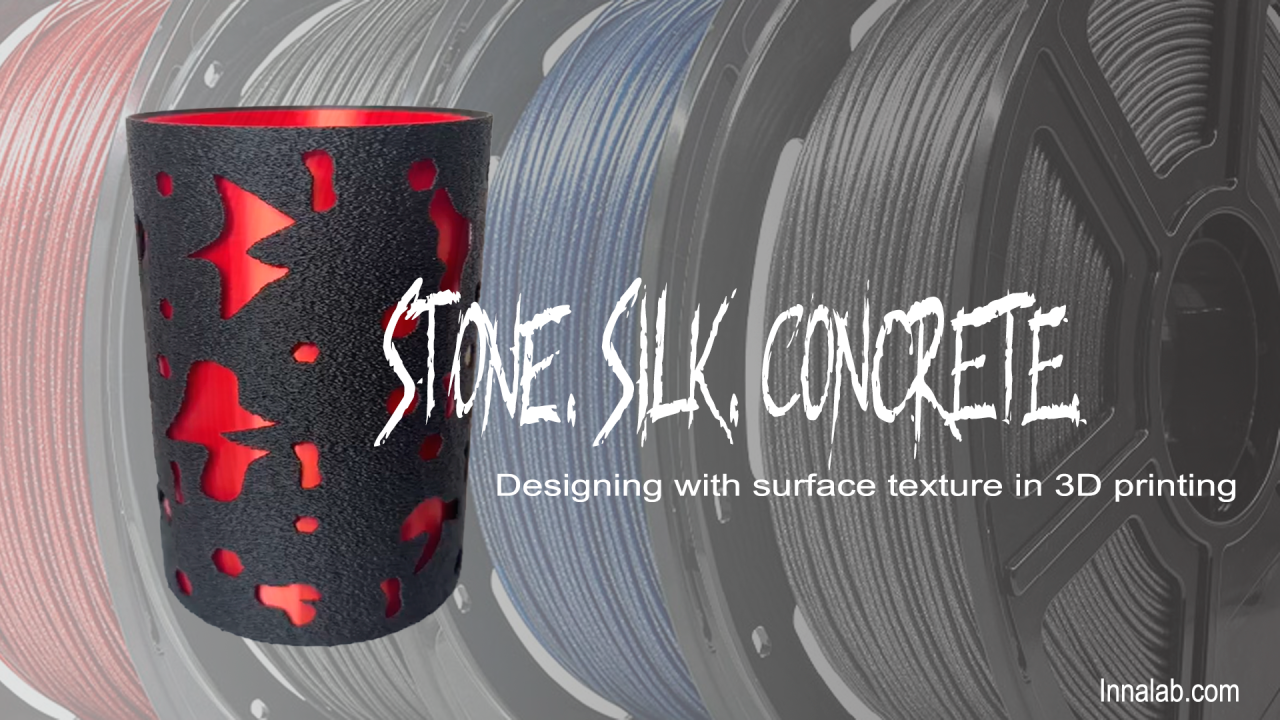
In one recent project I combined an outer vase modeled in SolidWorks with custom cutouts — printed in matte stone-effect filament with Fuzzy Skin — and an inner cup in scarlet silk filament. The 3D model was designed so the cutouts would reveal the silk beneath. Neither material is special on its own. Together they're doing something neither could do alone.
This approach requires thinking about your design in layers from the beginning. Which surface will be touched? Which will be seen from a distance? Which is structural and which is decorative? Once you answer those questions, the material and slicer choices become obvious.
A few practical notes
The slicer — in my case Bambu Studio — is not just a tool for preparing a 3D model for print. It's part of the design process itself. Every FDM print is a combination of decisions made in CAD and decisions made in the slicer. Surface texture lives in both.
The choice between a smooth wall and a fuzzy one, between silk and matte, between fine concrete and rough stone — these are aesthetic decisions as much as technical ones. They shape how an object is perceived and how it feels to use.
Worth thinking about before you hit print.
Have a project where surface matters?
Let's Talk →